

A padded headboard is a great way to decorate an apartment bedroom without making changes to the apartment itself. These cost hundreds of dollars if you buy them online or from the store, but the one I made cost just under $200. Make sure you have a bit of time for this DIY project – I did it over the course of a week or so, but it could probably be done in one or two days if you really want to.
I used this guide to start off with, and then kind of customized based upon what I wanted. You definitely want to make sure you’re handy and comfortable using tools such as an electric drill and a staple gun before attempting this project.
What you Need
I drew a grid, and aligned my buttons (which I had already covered in fabric) where I wanted them to go. I then drilled holes for the buttons.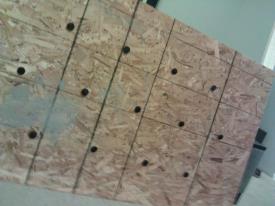
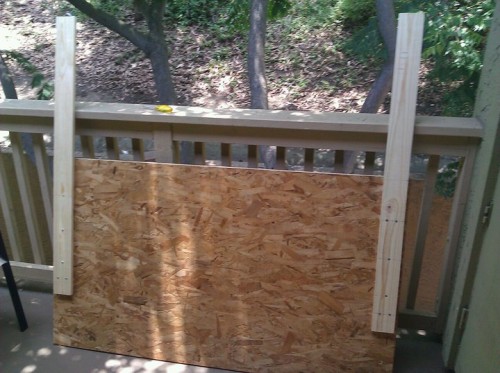
This next part was a pain, and I kind of experimented and didn’t follow the guide much, but it works. If you don’t want legs on your headboard, you can actually attach picture hooks on the back of your headboard instead, and just hang it on the wall. Since I was living in an apartment and didn’t want to pay for damages, I opted for the legs.
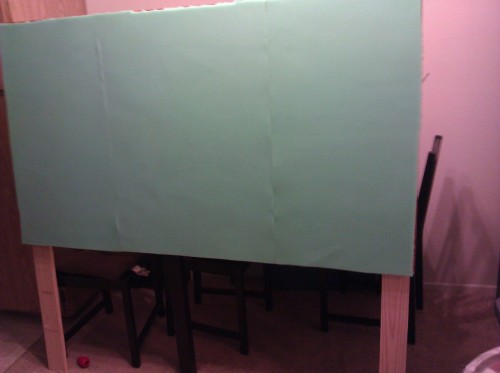
I then applied some foam to the board using some spray on adhesive (do this outside! it SMELLS)
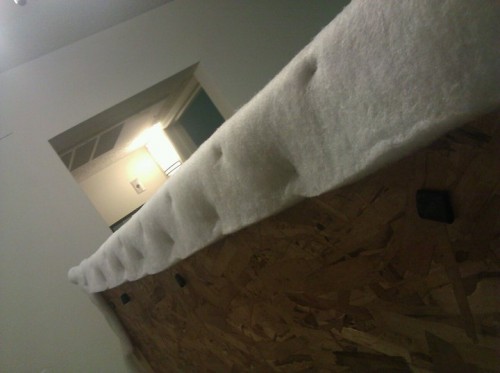
After that dried, I stapled batting over it with a staple gun, to make it extra cushy.
The next step I don’t have a photo of, but it basically consisted of covering the batting with the fabric and stapling on.
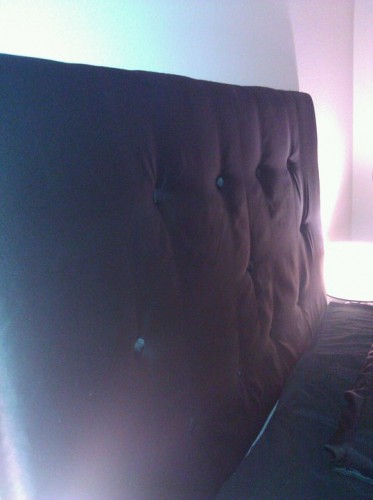
I also added the buttons (painstaking process) by stabbing the wire through the holes I had drilled with the upholstery needle, and adding a little of the anti-fray stuff so the fabric would not tear.
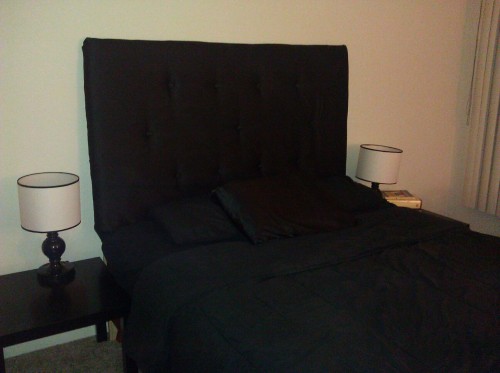
It’s not perfect but it definitely adds to my bedroom and makes it feel a little more homey.
VOILA!
No Comments